
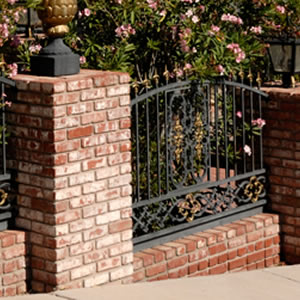
The best thing about using cedar for fence posts is its versatility. Cedar's natural silvery gray color is popular for both exterior and interior fence posts. It can be treated to add color or stained to improve the color. Additionally, cedar retains its shape and size, and does not warp or shrink as a result of drying or loss of water. Cedar fence posts are less likely pull a privacy or chain link fencing out of alignment, or to collapse under heavy foottraffic.
Cedar is not as common as pine, but it is more expensive. It also requires less maintenance than pine, but it is more expensive and does not need to be painted. Cedar fence posts can be more expensive than pine. However, cedar is much more durable than pine and does not need to replace after a few decades. It is also a greener option, which many homeowners choose. For those with a specific style in mind you can choose from natural cedar or pine pressure-treated.
Cedar fence posts can last for more than a century. To keep insects from destroying it, cedar fence posts can be lasted for over 100 years. P-T pin is best suited in moist environments. Some brands of P-T pine come with a limited warranty against decay. You can also apply a cedar wood stain.
Cedar posts will rot with time so make sure to keep them clean. To maintain its durability, it is important that the post is free from any vegetation or other invasive species. After this, you can finish it with an oil-based material. You can also add value to your property by installing a natural-looking fence. Nebraska Forest Service has cedar available for fence posts. You won't regret.
Cedar with a three-inch diameter at the heartwood, and close growth rings near the smallest point of the cedar are best for fence posts. These are ideal for fences. You should only use premium-grade cedar when building a fence. You will be amazed at the beauty of cedar wood and love the new look of your cedar fence. You should make sure that you use high-quality cedar for your posts.
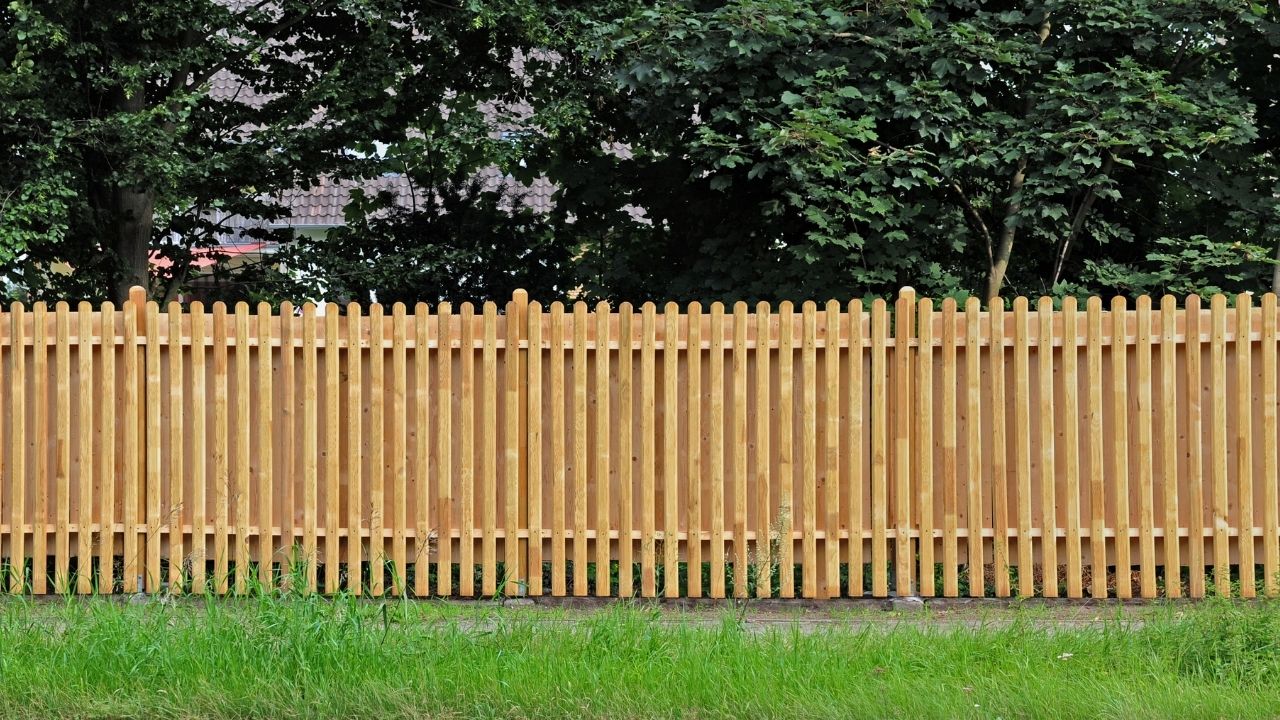
Cedar is a strong and durable material, but it isn't always the best option for fence posts. Even after five years of continuous use, cedar posts can begin to rot. Cedar posts can rot after just five years of use. It is therefore a better choice to use them for privacy fences. For privacy purposes, it's better to choose a cedar fence that's designed to provide privacy. Cedar fences sound great and block sound.
FAQ
How often should my furnace filter be changed?
This depends on how often your family will use their home heating system. You may need to change your filter more frequently if the temperature drops and you plan on being away from home during colder months. But if you do not often go outside, it may be possible to wait longer between changing your filter.
A typical furnace filter lasts approximately three months. This means you should change your furnace filters once every three months.
You can also check the manufacturer's recommendations for when to change your filter. Manufacturers recommend changing your filter after each heating season. Other manufacturers suggest waiting until visible dirt builds up.
Do I require permits to renovate a house?
Permits are required before you can start any home improvement project. You will require a building permit as well as a plumbing permit in most cases. A zoning license may also be needed depending on the type or construction you are doing.
How important it is to be pre-approved for loans?
Pre-approval is crucial for getting a mortgage. It gives you an idea how much money it will cost. This will help you decide if you are eligible for a loan program.
Are you able to live in a renovated house?
Yes, I can live in a house while renovating it
Can you live in a house and have renovations ongoing? The duration of the construction works will affect the answer. If the renovation takes less than two months, then you can live in your house while it is being built. If the renovation takes longer than two weeks, however, you can't live in your home during the construction.
It is important that you do not live in your home during major construction. You could also suffer from noise pollution and dust caused by the heavy machinery used on the job site.
This is especially true when you live in a multistory house. The vibrations and sounds that construction workers create can cause damage to your property and contents.
You will have to live in temporary accommodation while your home renovations are underway. This means that you won't have access to all the amenities that come with your own home.
For example, you will not be able to use your washing machine and dryer while they are undergoing repair. The workers will make loud banging noises, paint fumes, and chemicals obstruct your ability to use your dryer and washing machine.
All of these factors can create stress and anxiety for you and your loved ones. You should plan ahead to avoid feeling overwhelmed by this situation.
When you decide to start renovating your home, it is best to do some research first so that you can avoid making costly mistakes along the way.
It is also advisable to seek professional assistance from a reputable contractor so that you can ensure that everything goes smoothly.
How can I find a reliable contractor?
Ask your family and friends for recommendations when choosing a contractor. You can also look online for reviews. Look online for reviews to ensure the contractor you choose is experienced in the construction area you are interested. Get references from other people and review them.
How do I renovate my house with zero money?
Here are some tips to help you renovate your home without spending too much money.
-
Plan your budget
-
Find out what materials are required
-
Decide where you want them to go
-
Make a list of things you need to buy
-
Find out how much money your have
-
Plan your renovation project
-
Get to work on your plans
-
Do some research online
-
Ask family members and friends for help
-
Be creative!
Statistics
- A final payment of, say, 5% to 10% will be due when the space is livable and usable (your contract probably will say "substantial completion"). (kiplinger.com)
- According to the National Association of the Remodeling Industry's 2019 remodeling impact report , realtors estimate that homeowners can recover 59% of the cost of a complete kitchen renovation if they sell their home. (bhg.com)
- It is advisable, however, to have a contingency of 10–20 per cent to allow for the unexpected expenses that can arise when renovating older homes. (realhomes.com)
- They'll usually lend up to 90% of your home's "as-completed" value, but no more than $424,100 in most locales or $636,150 in high-cost areas. (kiplinger.com)
- ‘The potential added value of a loft conversion, which could create an extra bedroom and ensuite, could be as much as 20 per cent and 15 per cent for a garage conversion.' (realhomes.com)
External Links
How To
Do you prefer to renovate the interior or exterior?
Which one should you do first?
When choosing which project to begin with, there are many things to take into consideration. Most people consider whether the building is new or old. There are many factors to consider if the building is older, such as its roof, condition, windows, doors and flooring. If the building is new, then there are many different aspects to think about such as the location, size, number of rooms, style, etc.
The roof should be the first thing you look at if the building's age is a concern. If it looks like the roof could collapse any minute now, you may want to start on the renovation. If the roof is fine, then you can move onto the next step. Next, check out the windows. If they are broken or dirty, then you might want them replaced before doing much else. Next, check the doors for debris and clean them up. Then, if everything seems okay, you can begin working on the floors. It is important that your flooring is strong and stable so that it will not give way no matter what you do. Once these steps are done, then you can move on to the walls. Check the walls for cracks and damage. If the wall appears to be in good shape, you can continue to the next steps. The ceiling can be finished after the walls have been examined. Make sure the ceiling is sturdy enough to withstand whatever weight you place on it. If everything checks out, then you can move forward with your renovation.
If the building was new, you will want to inspect the exterior. The exterior of the home should be examined first. Is it clean? Are there cracks or holes? Does it look good? If the exterior doesn't look great, then you should definitely fix it. It is not a good idea to make your home look unattractive. Next, you need to inspect the foundation. Repairing the foundation is a good idea if it appears weak. Also, be sure to check your driveway. It should be smooth and flat. If it's not, it should be fixed. Check the sidewalk as well. If it's uneven, then you should probably replace it.
Once you've checked all these areas, it is time to move on the inside. First, take a look at the kitchen. Is it clean and well kept? It should be cleaned up if it's messy. Next, make sure to inspect the appliances. The appliances should be in good working order. If they aren’t, you need to either get new ones or fix them. The cabinets should be inspected after that. You can paint them if the cabinets are stained or damaged. If they're in good condition, you can move on to the bathrooms. You should inspect the toilet here. If it leaks, then you should probably get a new one. It's best to wash it if it's only dirty. Next, make sure you inspect all the fixtures. Make sure they're clean. You should clean them if they are stained. Finally, make sure to inspect the countertops. Repainting countertops is advisable if they have cracked or are chipped. You should seal them if they are shiny and smooth.
Last, check the furniture. You should make sure nothing is broken or missing. If it's missing or damaged, you need to find it. If it is damaged, you should probably fix it. Once everything is in order, you can then move on to the next step.